Why authentic Dutch tiles?
Dutch Tile, Inc. only sells the finest classic Delft ceramic tiles that are meticulously hand-crafted and hand-painted.
The Harlinger factory has reestablished itself as a manufacturer of hand-formed, hand-painted Delft tiles, as originally produced in the 16th and 17th century. Harlinger has been making these handmade tiles since 1972 using the traditional methods passed down from artisan to artisan. Today it is the only factory in Holland that hand-makes and hand paints the tiles all on site.
The Craft of Handmade Tile
Following the traditional multi-step technique, the workshop in Holland makes the tiles completely by hand.
Step One
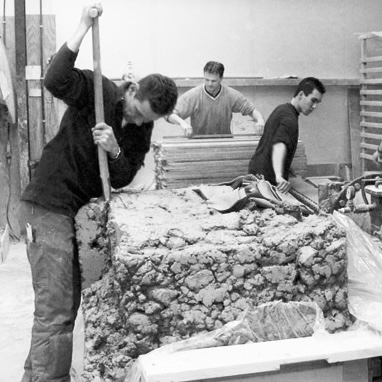
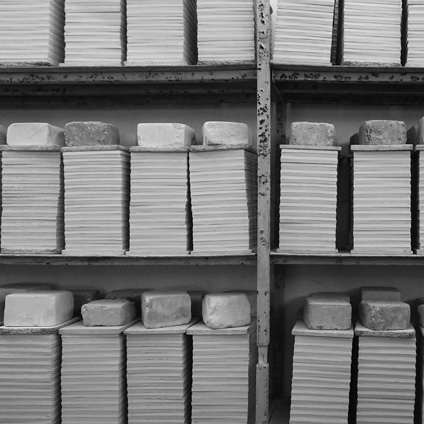
First step, the clay is purified and mixed with water, kneaded and freed of air in a vacuum press. The soft clay is then rolled to a thickness of ± 8 mm. These rolled ‘slabs’ of clay which are left to dry overnight this is the ‘leather hardening stage’.
Step Two
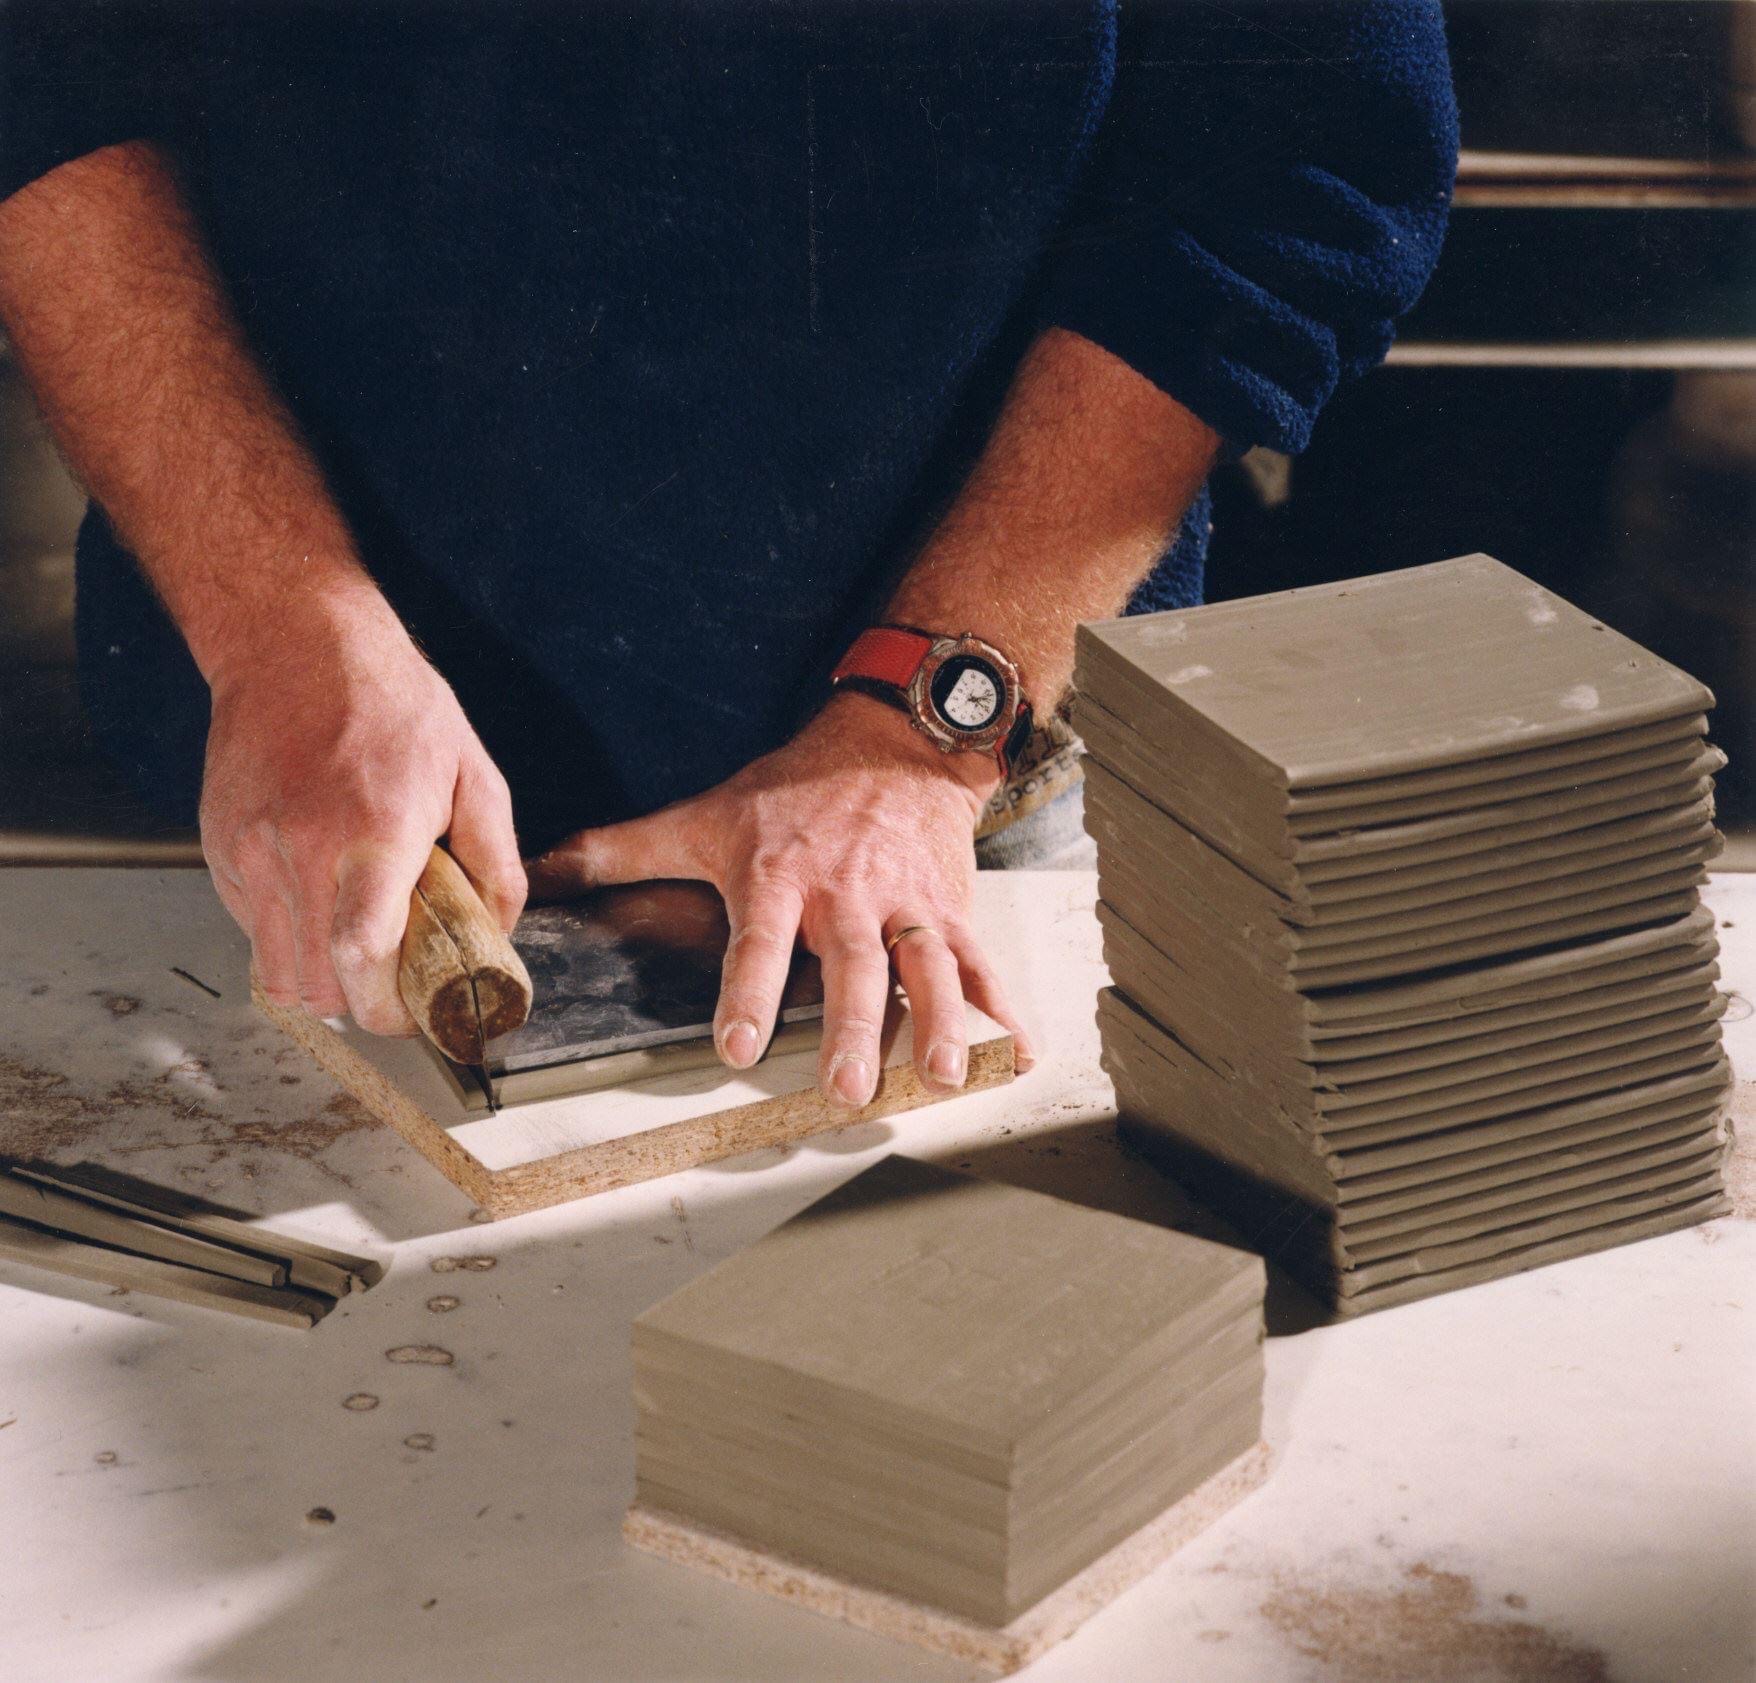
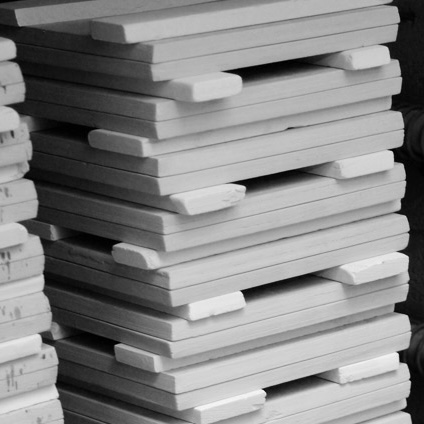
Next is cutting to size, also known as ‘cutting up’. The tile maker uses the same tools as 400 years ago, namely a knife and a wooden mold with nails in the corners. The nails serve to hold the mold in place. Real artisan tiles always have indentations in the corners.
Step Three
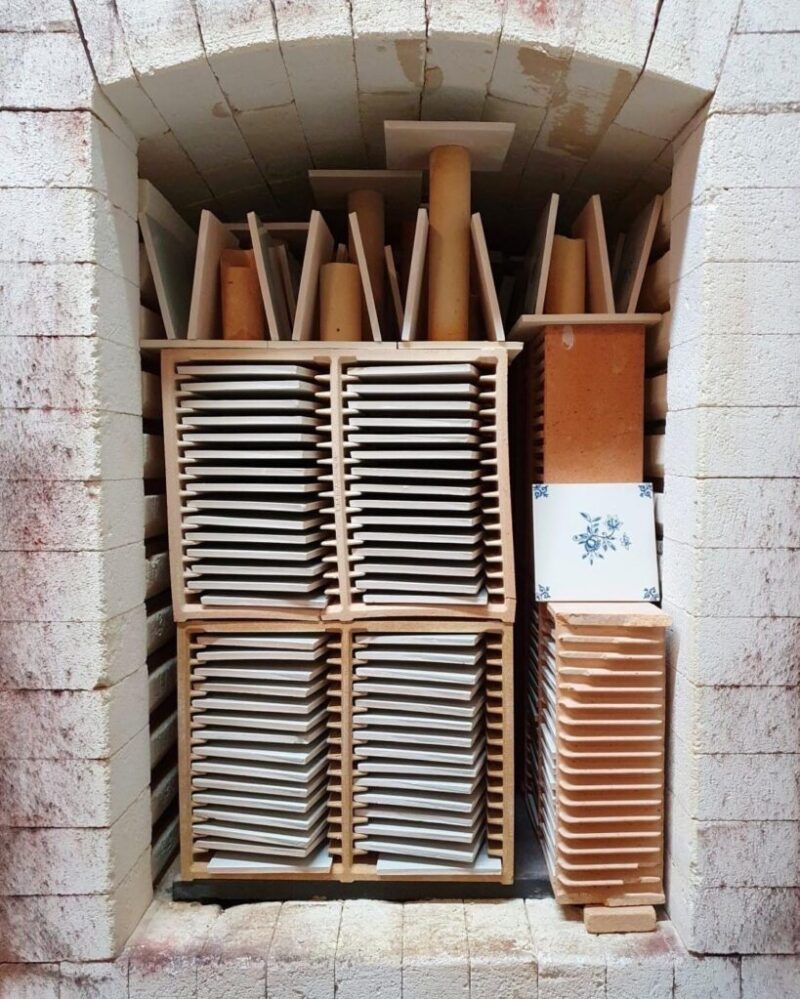
After drying for several days, the clay tiles are fired in the kiln.
Step Four
After the first firing, the tiles are called ”bisquits”.
Step Five
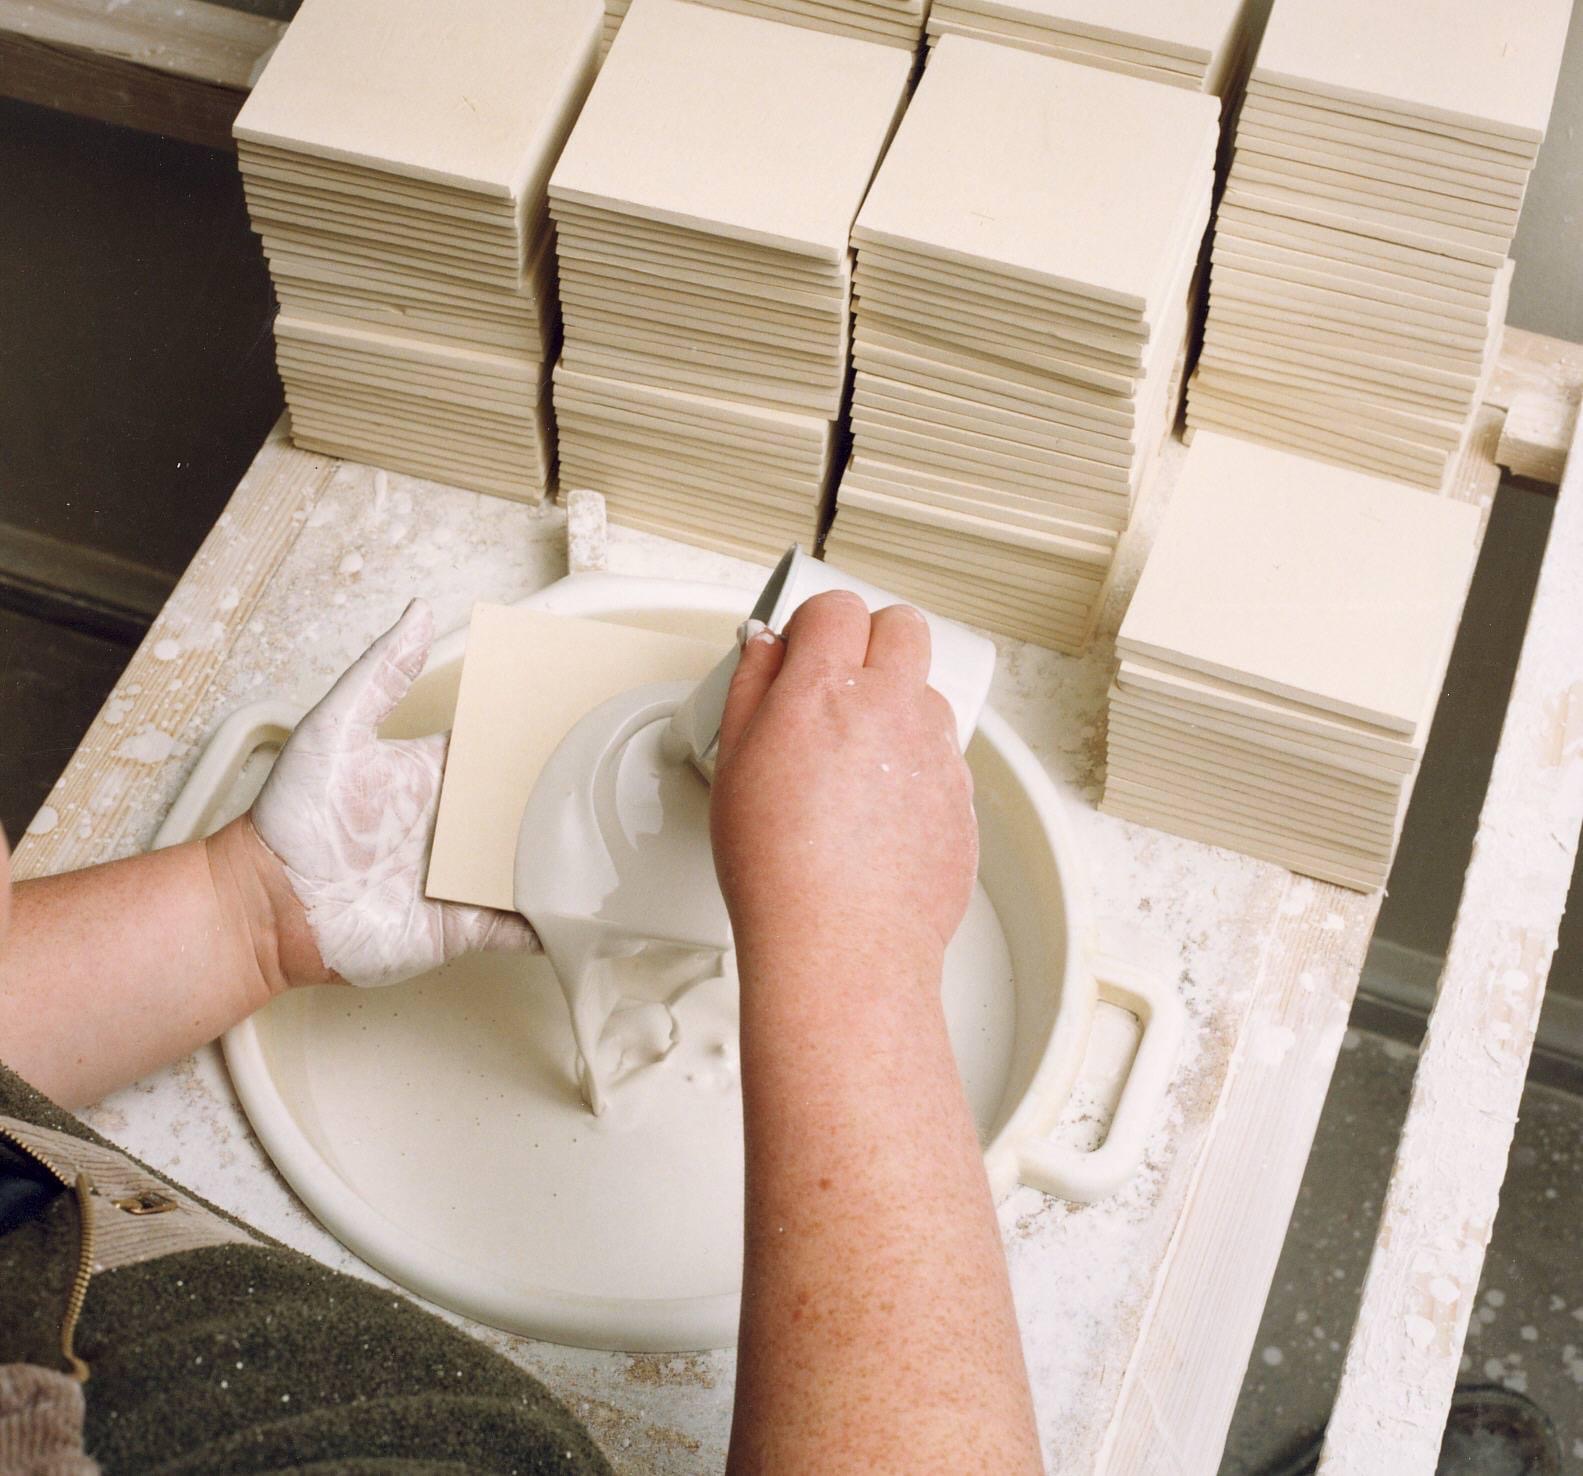
The bisquit is glazed with a tin glaze prepared according to recipes from the 16th and 17th centuries. This glaze, among other things, creates the characteristic nuanced color.
Step Six
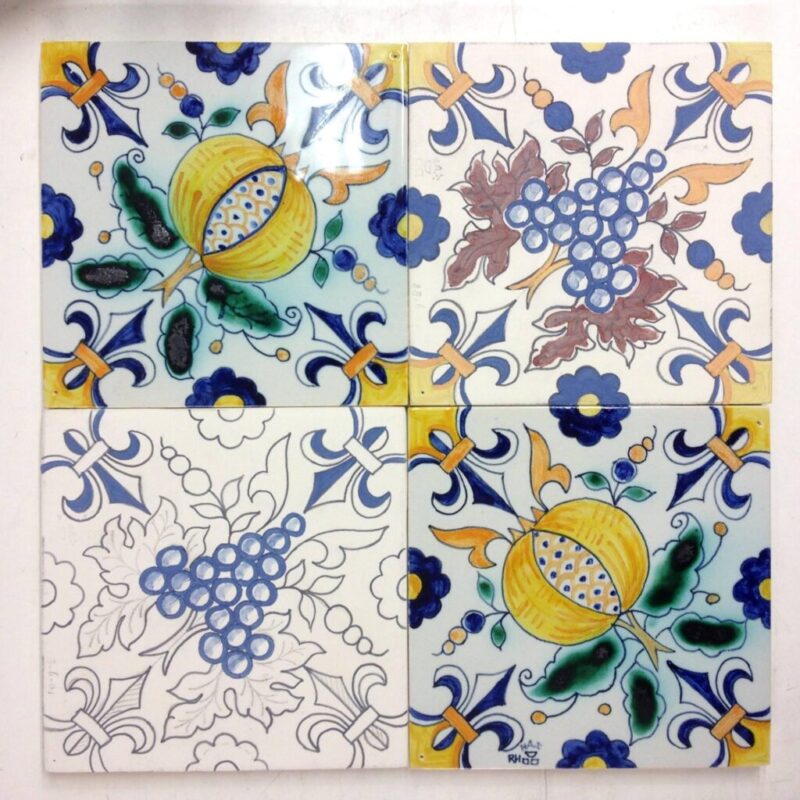
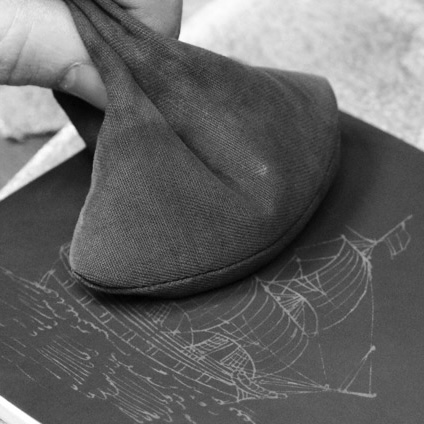
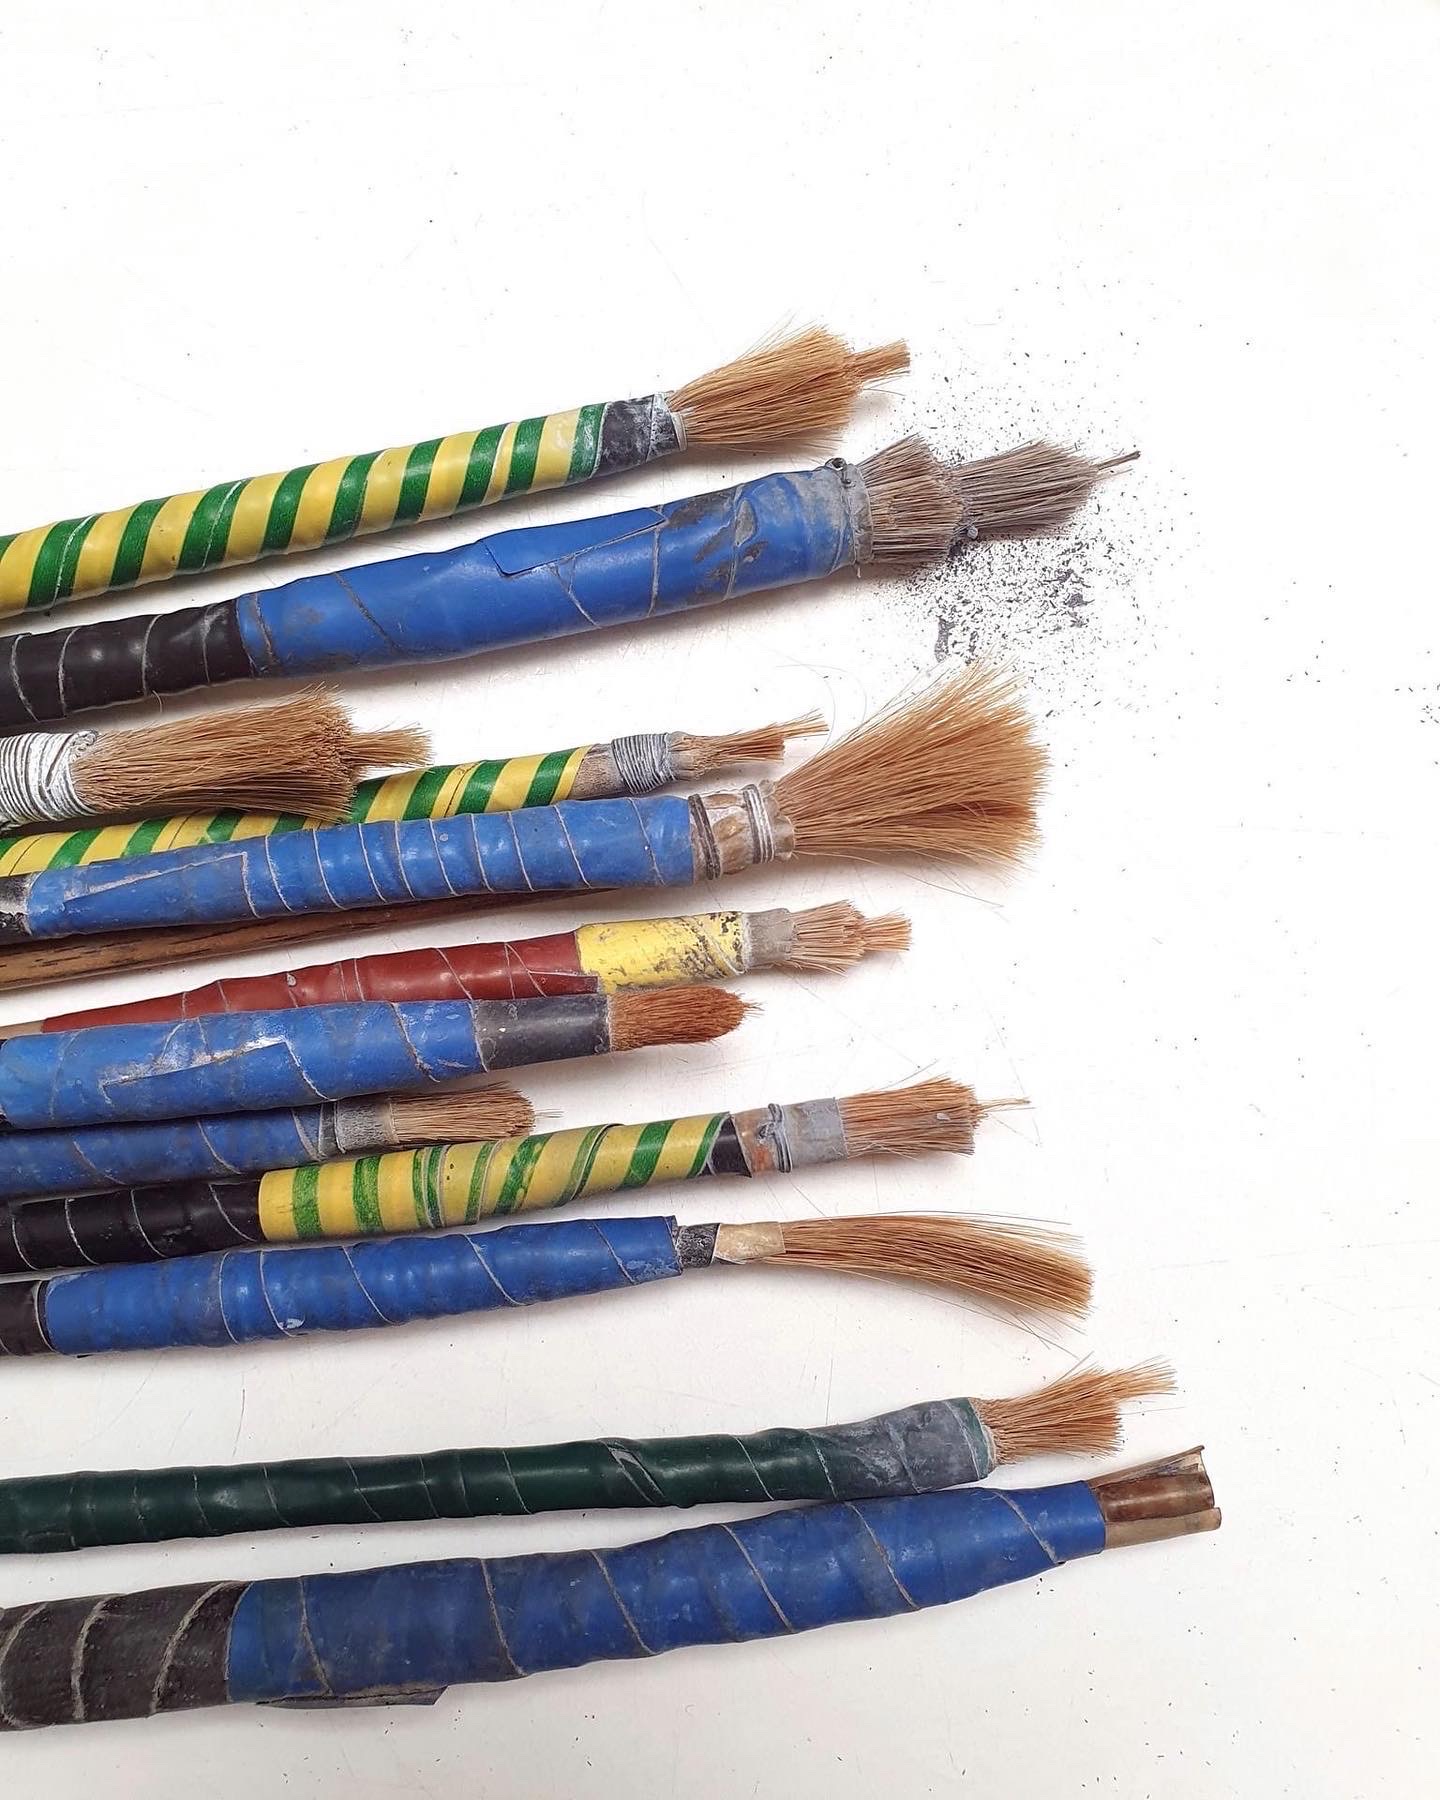
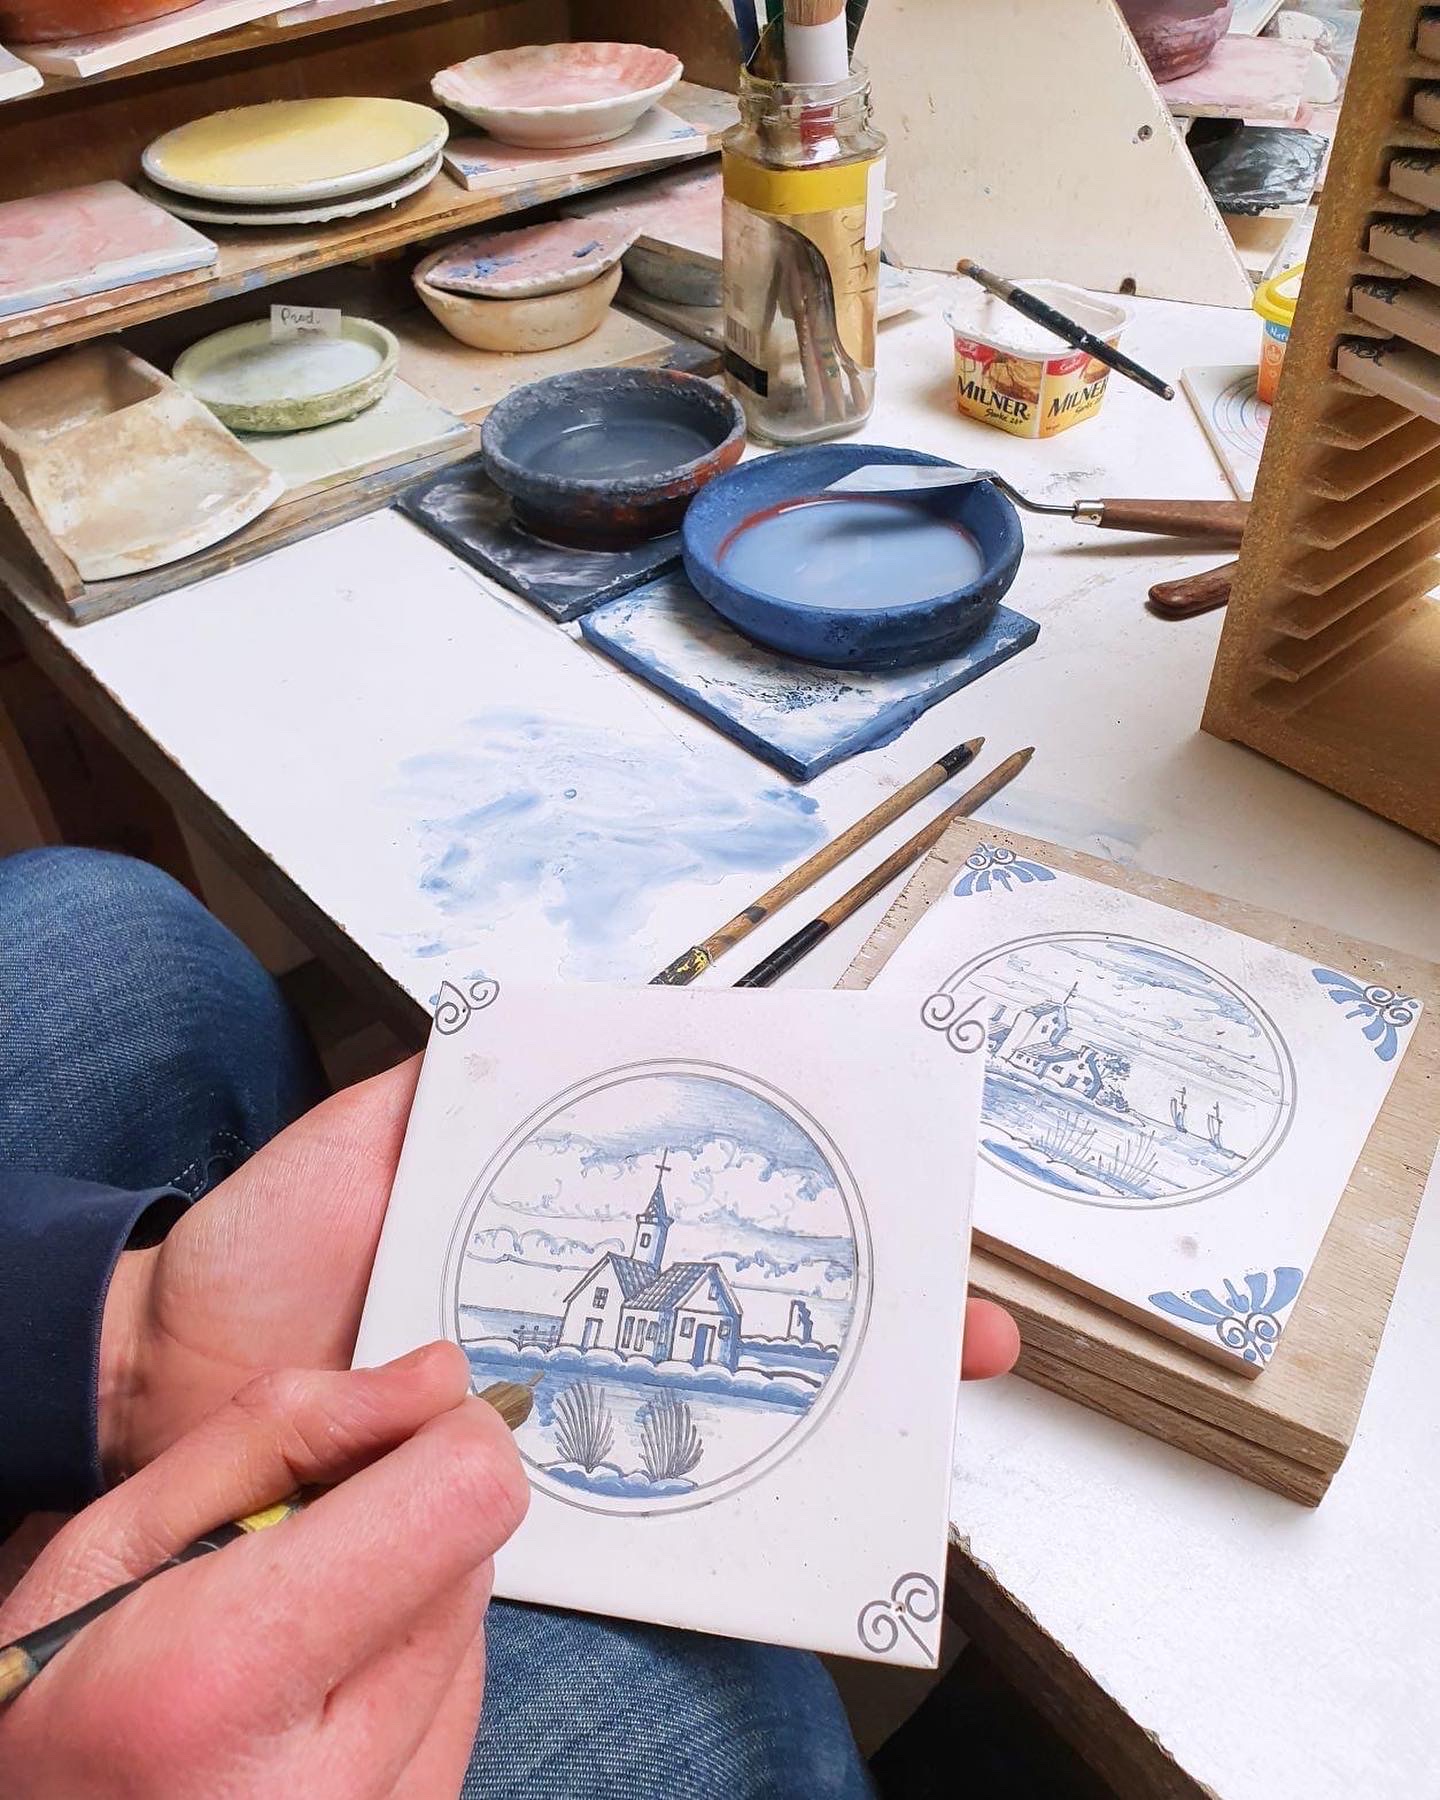
The painter uses a cartoon for each design/picture. The cartoon is a drawing whose contours are finely pierced. This sponge is placed on the still moist glaze and dusted with charcoal powder. The now visible dotted line is the only guidance for the painter. The dotted line is ‘drawn’ with a thin drawing brush and then filled in with color.
Step Seven
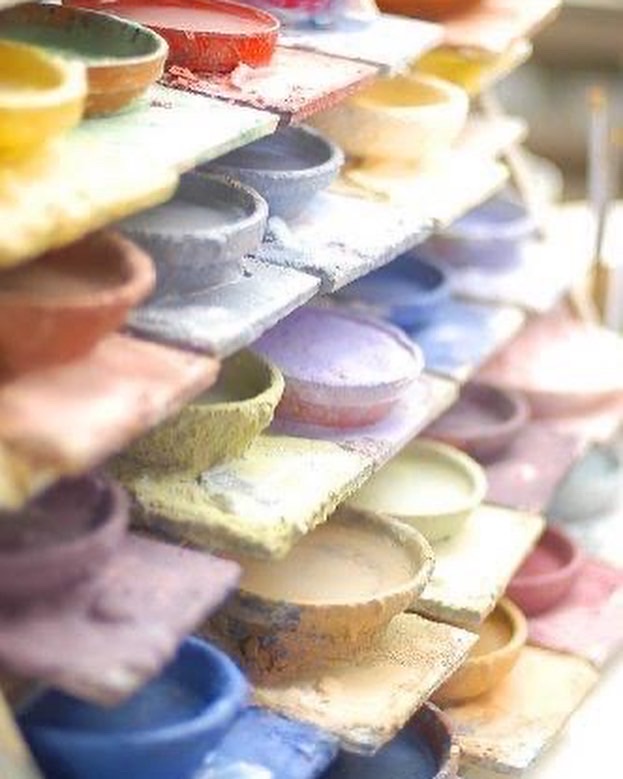
The paints used for painting are in fact glazes that are colored by adding a metal oxide. They fuse with the layer of tin glaze during the 2nd firing. Although the framework of the design is fixed by the sponge, the style of the painter remains recognizable. The interpretation of sea and sky scenes, for example, determines the painter’s handwriting and thus the unique character of each product.
Step Eight
After painting, the second fire follows.
Step Nine
The crackle glaze, if requested by the customer, is added as another step, and another firing. After this, the tiles are inspected and ready for shipment.
